Etape 1 : Installation : https://pypi.org/project/gopro-overlay/
$ python3 -m venv venv
$ venv/bin/pip install gopro-overlay
$ mkdir ~/.gopro-graphics/
$ cat ~/.gopro-graphics/ffmpeg-profiles.json
{
  "overlay": {
    "input": [],
    "output": ["-vcodec", "png"]
  }
}
Etape 2 : Premier test et premier drame
$ venv/bin/gopro-dashboard.py --use-gpx-only --gpx Nextcloud/Pipe/Video/BoucleResideo.gpx 1920x1080 Nextcloud/Pipe/Video/BoucleResideo.mov
Starting gopro-dashboard version 0.100.0
ffmpeg version is 4.4.2-0ubuntu0.22.04.1
Using Python version 3.10.6 (main, May 29 2023, 11:10:38) [GCC 11.3.0]
Traceback (most recent call last):
  File "/home/arias/venv/bin/gopro-dashboard.py", line 107, in
    font = load_font(args.font)
  File "/home/arias/venv/lib/python3.10/site-packages/gopro_overlay/font.py", line 5, in load_font
    return ImageFont.truetype(font=font, size=size)
  File "/home/arias/venv/lib/python3.10/site-packages/PIL/ImageFont.py", line 1008, in truetype
    return freetype(font)
  File "/home/arias/venv/lib/python3.10/site-packages/PIL/ImageFont.py", line 1005, in freetype
    return FreeTypeFont(font, size, index, encoding, layout_engine)
  File "/home/arias/venv/lib/python3.10/site-packages/PIL/ImageFont.py", line 255, in __init__
    self.font = core.getfont(
OSError: cannot open resource
Etape 2b : Avec copie de la « font »
$ venv/bin/gopro-dashboard.py --use-gpx-only --gpx Nextcloud/Pipe/Video/BoucleResideo.gpx --overlay-size 1920x1080 Nextcloud/Pipe/Video/BoucleResideo.mov --font Nextcloud/Pipe/Video/Roboto-Medium.ttf
Starting gopro-dashboard version 0.100.0
ffmpeg version is 4.4.2-0ubuntu0.22.04.1
Using Python version 3.10.6 (main, May 29 2023, 11:10:38) [GCC 11.3.0]
GPX/FIT file:     2023-07-05T17:51:34+00:00 -> 2023-07-05T18:02:30+00:00
Timer(loading timeseries - Called: 1, Total: 2.99467, Avg: 2.99467, Rate: 0.33)
Generating overlay at Dimension(x=1920, y=1080)
Timeseries has 6561 data points
Processing....
Timer(processing - Called: 1, Total: 4.25000, Avg: 4.25000, Rate: 0.24)
FFMPEG Output is in /tmp/tmpkga_2k5h
Timelapse Factor = 1.000
Layout -> Include component 'date_and_time' = True
Layout -> Include component 'gps_info' = True
Layout -> Include component 'gps-lock' = True
Layout -> Include component 'big_mph' = True
Layout -> Include component 'gradient_chart' = True
Layout -> Include component 'gradient' = True
Layout -> Include component 'altitude' = True
Layout -> Include component 'temperature' = True
Layout -> Include component 'cadence' = True
Layout -> Include component 'heartbeat' = True
Layout -> Include component 'moving_map' = True
Layout -> Include component 'journey_map' = True
Executing 'ffmpeg -hide_banner -y -hide_banner -loglevel info -f rawvideo -framerate 10.0 -s 1920x1080 -pix_fmt rgba -i - -r 30 -vcodec libx264 -preset veryfast Nextcloud/Pipe/Video/BoucleResideo.mov'
...
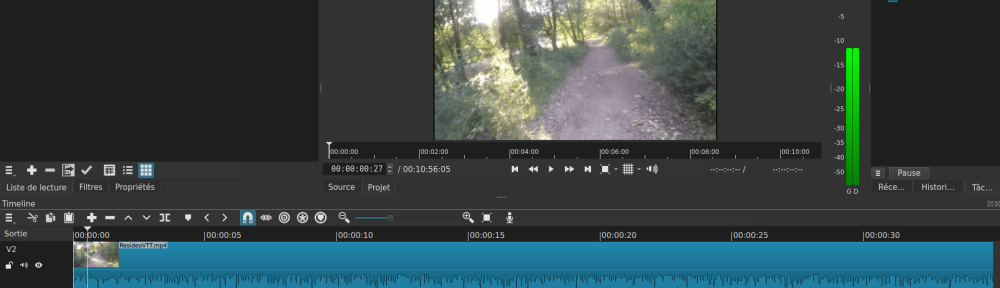
Etape 3 : Shotcut : https://shotcut.org/
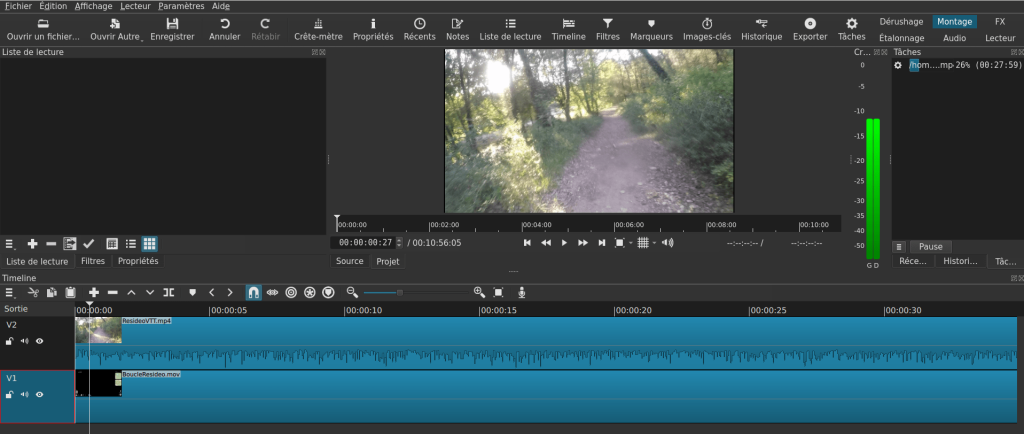
Conversion de noir en transparent avec ffmpeg :
ffmpeg -i input.mov -filter_complex « [0:v]colorkey=0x000000:0.01:0.0[BlackToTransparancy] » -map [BlackToTransparancy] -an output.mov